People will forgive a mediocre picture. They will not forgive terrible audio.
Most videos don’t fail because of the picture. They fail because of the sound: dialogue buried under music, levels that swing from inaudible to painful, and mixes that sound fine in headphones but fall apart on a phone speaker.
Sound design fixes these problems. It’s not mysterious. It comes down to a few numbers, a handful of techniques, and the discipline to check your mix on multiple devices.
The short version: keep dialogue between −6 dB and −12 dB, background music between −20 dB and −30 dB whenever someone is speaking, and sound effects between −10 dB and −20 dB. Normalise the finished video to around −14 LUFS for YouTube. Mix dialogue first, effects second, music last. Then listen on a phone.
Everything below is the detail behind those numbers.
Whether you edit your videos yourself or have a team doing it for you, understanding the basics of sound editing is essential. You don’t need to become an audio engineer, but you should know enough to recognise when dialogue is too quiet, music is overpowering, or sound effects are distracting from the content.
These techniques will help you maintain consistent, professional-quality audio and make sure your videos sound good across different devices.
And if you don’t have the time or expertise to handle video editing and sound design yourself, you can hire a video editing VA. An experienced video editing VA can take care of everything from cutting and pacing to audio mixing, sound effects, captions, and final production, so you can focus on creating the content rather than getting stuck in post-production.
What Sound Design Actually Covers
Sound design is the work of building a video's audio world beyond the raw dialogue — the effects, ambience, texture and silence that make a scene feel like a place rather than a recording.
In practice, a sound designer or audio editor:
- Cleans and balances dialogue and voiceover
- Adds ambience and room tone so scenes don't sound vacuum-sealed
- Places sound effects, both literal (footsteps, clicks) and emotional (risers, impacts)
- Mixes music underneath speech without letting it compete
- Meets the technical delivery standards for the destination platform
For most business and creator video, it's the last three that separate amateur from professional output — and the first that decides whether anyone watches to the end.
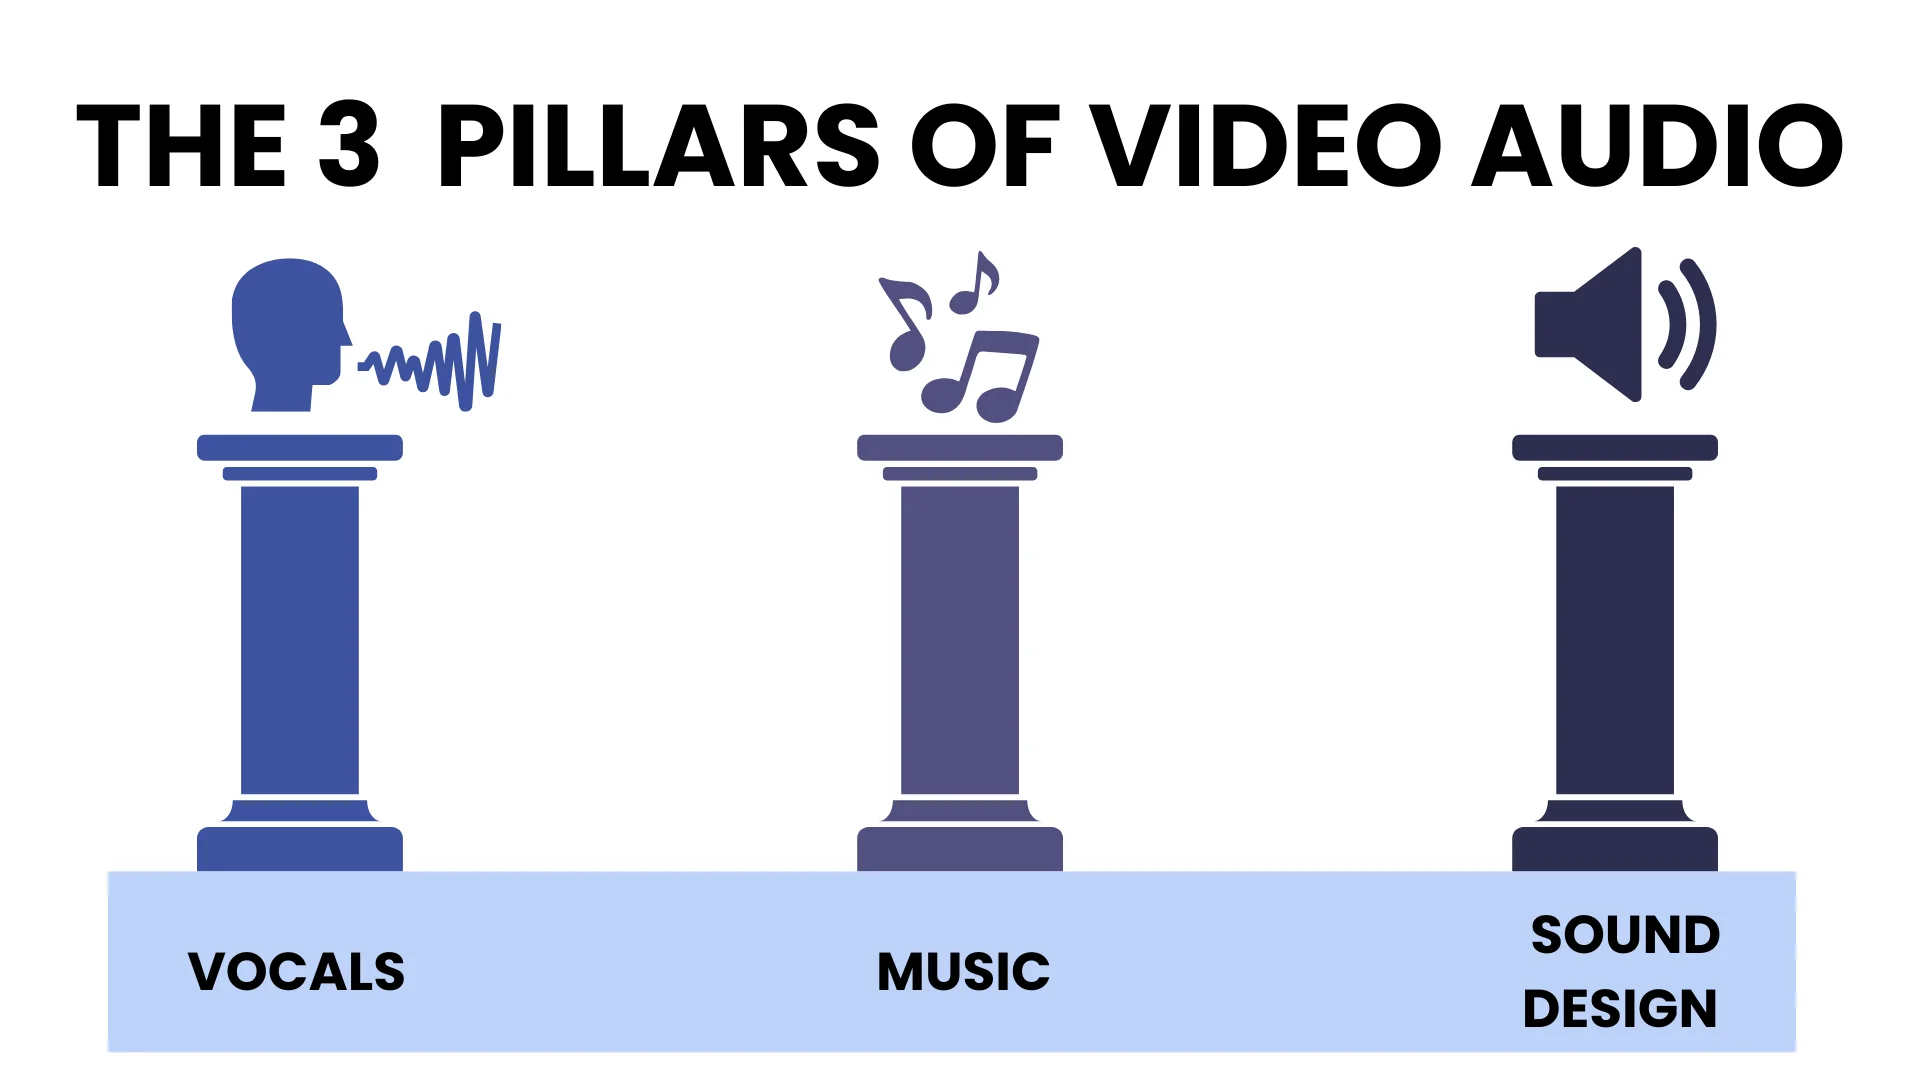
The Three Layers of Video Audio
Every video's audio breaks into three layers, and they should be mixed in this order:
- Dialogue and voiceover. Your message. Clarity is non-negotiable. Everything else works around it.
- Sound effects and ambience. Realism and depth. This is where the video stops feeling like a slideshow with narration.
- Music. Mood and pacing. Mixed last, because it's the layer most likely to swallow the other two.
The common mistake is mixing music first because it's the fun part, then squeezing dialogue in on top. Do it the other way round and most level problems solve themselves.
Audio Levels for Video: The Numbers
This is the section most people are looking for, so here it is plainly.
| Element | Target level | Notes |
|---|---|---|
| Dialogue/voiceover | −6 dB to −12 dB | Your anchor. Set this first, mix everything else around it |
| Sound effects (SFX) | −10 dB to −20 dB | Audible but never competing with speech |
| Background music, under dialogue | −20 dB to −30 dB | Should be felt, not listened to |
| Music, no dialogue present | −12 dB to −18 dB | Bring it up in gaps, duck it back down under speech |
| Final mix peak | −3 dB or lower | Headroom for platform processing |
And the loudness standards for delivery:
| Platform | Target loudness |
|---|---|
| YouTube | ≈ −14 LUFS |
| Spotify / most streaming | ≈ −14 LUFS |
| Podcasts | ≈ −16 LUFS |
| Broadcast (EBU R128) | −23 LUFS |
Platforms normalise on upload regardless of what you deliver, so mixing far louder than the target just means the platform turns you down and you lose dynamic range for nothing.
Export settings for video delivery: 48 kHz, 24-bit WAV, stereo.
Core Techniques
Audio ducking
Automatically lower background music when someone speaks, then bring it back up when they stop. Every major editor has this built in — Premiere's Essential Sound panel, DaVinci Resolve's Fairlight, Audition's ducking preset.
Ducking is the single highest-impact fix for amateur-sounding video. If you do nothing else from this article, do this.
Ambience and room tone
Silence isn't silent. A room with no audio at all sounds broken to the ear, and every cut between clips announces itself.
Record 30 seconds of room tone on every shoot — just the empty room, no talking — and lay it under the whole timeline. It costs half a minute and it removes the seams.
Foley and sound effects
Split effects into two categories, because they do different jobs:
- Literal effects — footsteps, doors, keyboard clicks, paper. These sell realism. They should be barely noticed.
- Emotional effects — risers, impacts, drones, whooshes. These direct feeling. Used sparingly, they build tension; used constantly, they become noise.
Silence
Silence is a tool, not an absence. Placed immediately after a hook or a reveal, it forces attention. Placed before a punchline, it lands the joke. Most creators fill every second because dead air feels like a mistake — the good ones use it deliberately.
Advanced Technique
EQ and frequency management
Four moves handle most dialogue problems:
- High-pass below 80 Hz — removes rumble, handling noise and air conditioning
- Cut 200–400 Hz — clears muddiness and boxiness
- Boost 2–5 kHz gently — adds intelligibility and presence
- De-ess around 5–8 kHz — tames harsh sibilance
Compression
Compression narrows the gap between loudest and quietest, so whispers stay audible, and shouts don't distort. For spoken word, a ratio around 3:1 with 3–6 dB of gain reduction is a sane starting point.
Reverb and space
Match reverb to the visible environment. A voiceover recorded in a closet, laid over footage of a cathedral, reads as wrong even to people who can't say why.
Spatial mixing and panning
Place effects left, right or behind to create depth. Keep dialogue centred — always. Panning speech is a novelty that makes headphone listening uncomfortable.
Layering and variation
Don't run one music track under an eight-minute video. Change or layer tracks at natural structural breaks to sustain energy. The same applies to effects — three slightly different door sounds beat the same one used three times.
J-cuts and L-cuts
Let audio from the next scene start before the picture cuts (J-cut), or carry the outgoing audio past the cut (L-cut). This is the difference between a video that feels edited and one that feels assembled.
Voice treatment
Clean before you enhance. Noise reduction first, then EQ, then compression, then de-essing. Applying compression to noisy audio just makes the noise louder.
Music and Sound Effects: Getting the Licensing Right
This is where creators get monetisation strikes, so it's worth being precise.
Sourcing. YouTube Audio Library, Pixabay, Mixkit and Freesound all offer usable free audio. Epidemic Sound, Artlist and Soundstripe are the paid options where quality and clearance are more reliable.
Licence types:
| Licence | What it means |
|---|---|
| CC0 / Public Domain | Free to use, no attribution required |
| CC BY | Free to use, attribution required |
| CC BY-ND | No modification or remixing permitted |
| CC BY-NC | Non-commercial use only — not usable if you monetise |
Two rules that save you trouble: confirm commercial rights before you use anything on a monetised channel, and keep a record of every licence — a folder of screenshots and download receipts. When a content ID claim arrives eight months later, that folder is the only thing that resolves it quickly.
Sound Design by Content Type
| Content type | Approach |
|---|---|
| Educational / tutorial | Clear dialogue, minimal music, almost no effects. Anything decorative competes with comprehension |
| Corporate / documentary | Balanced mix, clean narration, restrained ambience and subtle transitions |
| Narrative/film | Full Foley, layered ambience, spatial mixing, deliberate silence |
| Short-form social | Punchy and loud, effects on cuts, front-loaded hook. Assume phone speakers and no headphones |
When to Do Your Own Audio, and When to Hand It Off
Not everyone should outsource this, and it's worth being honest about where the line sits.
Do it yourself if: you publish one or two videos a week, your format is stable (talking head, screen recording, interview), and your audio setup doesn't change between shoots. Learning ducking, levels, and a basic EQ chain is maybe two hours of study and twenty minutes per video after that. It's a genuinely good use of your time, and it makes you a better director of the work even if you later hand it off.
Hand it off if any of these are true:
- You're producing more than about eight videos a month, and audio is the step that delays delivery
- You're an agency and audio post is eating billable hours that should go to strategy or client work
- You have a back catalogue — a course library, a podcast archive, a year of webinars — that needs consistent treatment applied at volume
- Your formats vary enough that every project means re-solving the same problems
- You've reached the point where you can hear that something is wrong but can't diagnose it
That last one is the real signal. Developing taste happens faster than developing technique, and the gap between them is expensive to close on your own time.
Audio post is well suited to delegation because it's specification-driven work. Once levels, loudness targets, licensing rules and a treatment chain are documented, the output is consistent and checkable — unlike, say, editing decisions, which need your judgement every time.
A video editing virtual assistant can take on dialogue cleanup and noise reduction, music selection within your licence library, ducking and level balancing across a whole series, ambience and effects placement, loudness normalisation to platform spec, and QC across devices before delivery. If you're weighing that against a full production house, we've compared the two directly.
And if you're staying hands-on, free tools go further than most people assume.
Pre-Delivery Checklist
Dialogue
- Recorded in a treated or quiet space
- High-pass applied below 80 Hz
- Presence boosted around 2–5 kHz
- Compression applied, 3–6 dB gain reduction
- De-esser engaged
- Sits between −6 dB and −12 dB
Music
- Licence confirmed for commercial use and filed
- Sits between −20 dB and −30 dB under dialogue
- Ducking applied
- Track changes at structural breaks on longer content
Effects and ambience
- Room tone laid under the full timeline
- Literal and emotional effects placed with intent
- Silence used deliberately at least once
- Panning applied for depth, dialogue kept centred
Technical
- Normalised to platform loudness target
- Peaks at −3 dB or lower
- Checked on headphones, laptop speakers and a phone
- Exported at 48 kHz, 24-bit
Then walk away for an hour. Fresh ears catch what tired ears have stopped hearing — this is the most reliable QC step there is, and it's free.
Get Your Audio Handled
Great visuals get the click. Audio decides whether anyone stays.
If audio post is the bottleneck in your video workflow — or you have a back catalogue that needs bringing up to standard — MyTasker's video editing team handles dialogue cleanup, mixing, licensing management and delivery-spec QC as ongoing support rather than per-project quotes.
Tell us what you're producing, and we'll scope it.
FAQs
What dB should background music be under dialogue?
Between −20 dB and −30 dB while someone is speaking, rising to −12 dB to −18 dB in gaps where there's no dialogue. Use ducking to automate the transition rather than keying it manually.
What LUFS should I export for YouTube?
Around −14 LUFS integrated. YouTube normalises louder uploads down anyway, so mixing hotter gains nothing and costs you dynamic range. Podcasts target −16 LUFS and broadcast delivery is −23 LUFS.
What is audio ducking?
Automatic reduction of background music whenever dialogue is present, with the level restored when speech stops. It's built into Premiere Pro, DaVinci Resolve and Audition, and it's the fastest single improvement most creators can make to a mix.
Do I need expensive equipment for good audio?
No. A treated recording space and correct technique beat expensive gear in an untreated room every time. A blanket-lined closet and a mid-range USB microphone outperform a studio condenser in a room with hard walls.
How do I make a voiceover sound professional?
Record somewhere quiet with soft furnishings, use a pop filter, then process in order: noise reduction, high-pass below 80 Hz, cut 200–400 Hz, gentle boost at 2–5 kHz, compression, de-esser. Order matters — compressing noisy audio amplifies the noise.
How long does audio post take for a typical video?
For a straightforward ten-minute talking-head video with an established treatment chain, roughly 30–45 minutes. First-time setup for a new format takes considerably longer, which is why documented specifications pay off across a series.
Should I outsource my video audio editing?
It depends on volume and variation. Below roughly eight videos a month with a stable format, learning it yourself is a good investment. Above that, or with a back catalogue to standardise, outsourcing to a dedicated editor is usually cheaper than the delivery delay.
Why does my audio sound fine in headphones but bad on a phone?
Phone speakers reproduce almost nothing below about 500 Hz, so bass-heavy mixes lose their foundation and mid-range clutter becomes obvious. Always check the final mix on a phone speaker before delivery — it's the most common playback device and the least forgiving.